Start with the route, not the paint
Before setting out, get a paper map that covers the whole walk, including a reasonable way back if you turn around early. A map displayed at a trailhead can be useful for an overview, but it cannot travel with you. Note the route name, its length, likely junctions and a few unmistakable features such as a lake shore, road crossing or bridge. Tell someone where you plan to walk and when you expect to return.
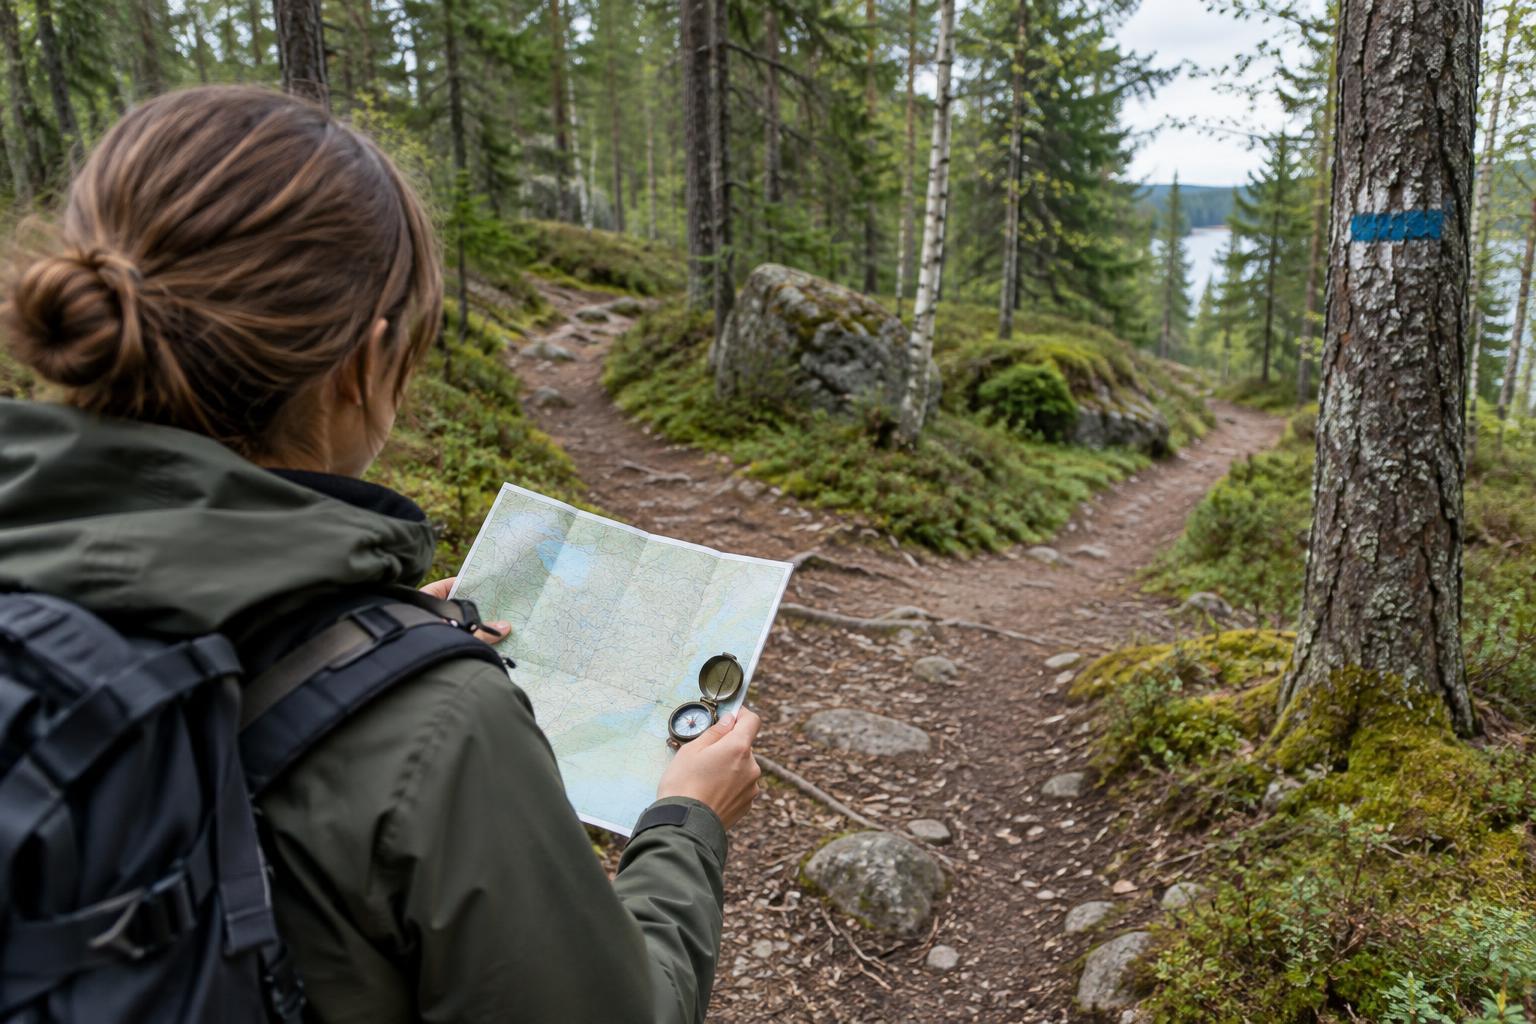
Swedish trails are maintained by different organisations, and their marking systems are not identical. You may see painted marks on trees or rocks, posts with coloured bands, and signboards with place names or distances. Orange markings are common on many walking routes, but colour alone is not a reliable way to identify your particular trail. Read the trailhead information and your map’s legend to learn what its symbols mean in that area.
Read each marker as part of a sequence
A trail marker confirms the route most clearly when it agrees with the path underfoot and the landscape shown on your map. Look ahead for the next mark, especially after a bend, a stretch of open rock or a crossing with another track. At junctions, pause and check any signpost rather than assuming the broadest path is the right one. A sign may point toward a destination farther along your route without displaying the name of the trail you are following.
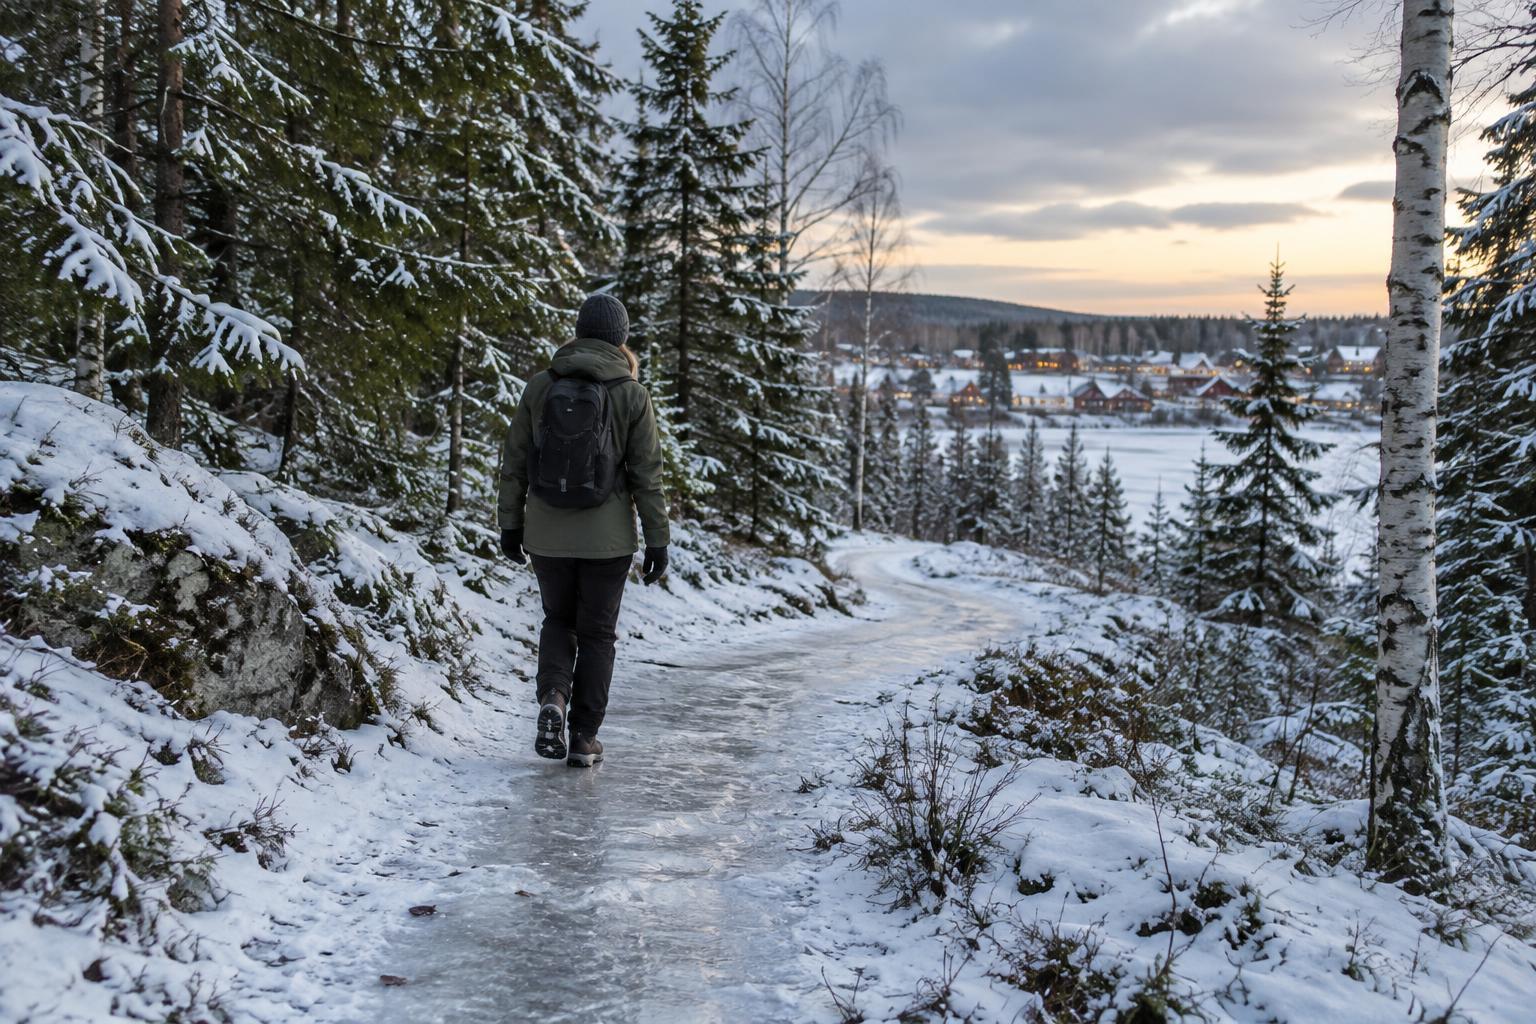
Conditions can make even a well-marked route harder to read. Leaves, snow, fallen trees or new vegetation may hide marks; in open country, the next painted rock or post may be less obvious than a tree marker in the forest. If you stop seeing markers, do not keep walking indefinitely in the hope that they will reappear. Return to the last place where you were confident of your position, then compare the available paths with your map.
Make the paper map useful on the ground
Check the map’s scale and legend before you need them. The scale helps you judge how far apart junctions are; the legend distinguishes footpaths from tracks, roads and other features. Contour lines show the shape of hills: closely spaced lines indicate steeper ground. Buildings, streams and wetlands can also help you recognise where you are, though small paths and watercourses may look different on the ground from the way they appear on paper.
Turn the map so its north direction matches north in the landscape. A basic compass makes this easier, particularly under tree cover, where distant landmarks may be hidden. Then compare what lies around you with what should appear along your route: for example, a lake on your left, followed by a stream crossing and a climb. Use several clues together. One bend in a path may be easy to mistake for another, while a sequence of features offers a stronger check.
As you walk, keep track of your last known position and the next feature you expect to meet. This simple habit is easier than trying to reconstruct an entire walk after becoming uncertain. Check your position at clear junctions and crossings, not only when something feels wrong.
Choose a safer response when the route is unclear
If the signs and map disagree, stop in a safe place and take time to investigate. Check whether you have passed a junction, followed an unmarked shortcut or mistaken a service track for a footpath. Retracing your steps to a known marker is often more dependable than pushing ahead. If daylight, weather or energy is becoming a concern, turning back on a route you know may be the better choice.
Sweden’s right of public access can make walking through the countryside possible beyond formally marked trails, but it is not a substitute for navigation. Land use, protected areas and local signs may affect where you should go. Avoid cutting across sensitive ground or private spaces simply to regain a path. Good route-finding is as much about recognising when to pause as it is about moving forward.
Build a small signal-free routine
Pack the map where you can reach it, protect it from rain and carry a compass you know how to use. Before leaving the trailhead, locate yourself on the map, identify your intended direction and note a clear turnaround point. During the walk, glance at the map whenever you reach a feature you expected. The goal is not to navigate every step by compass, but to prevent small uncertainties from accumulating.
A phone can still be a useful extra tool, but its battery and signal should not be the only ways you know where you are. This guide is part of an independent culture magazine, not a consulate or government service. For a day on the trail, the most useful preparation is local route information, suitable equipment and the willingness to slow down when the landscape asks you to look twice.